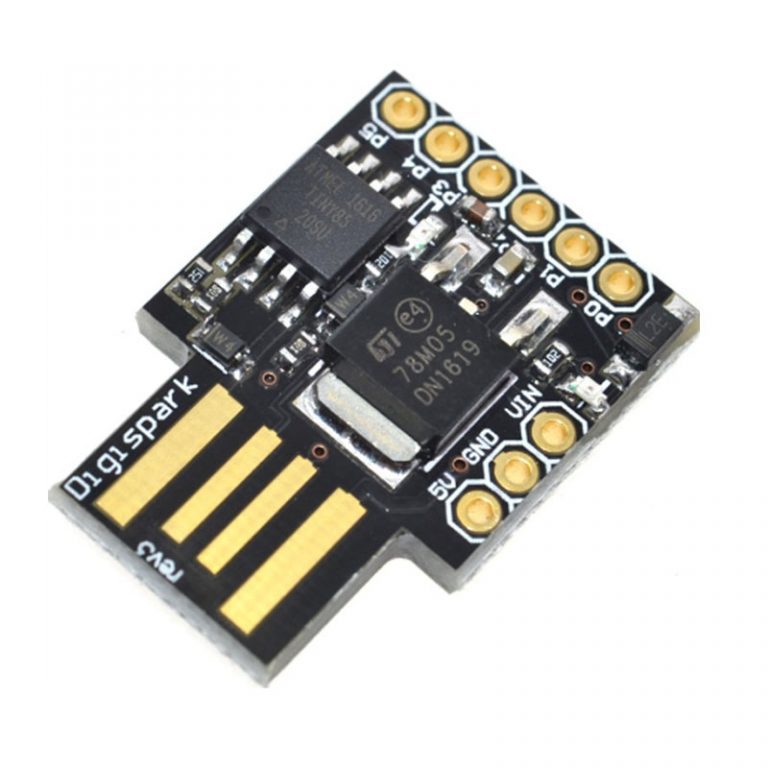
DigiSpark ATTiny85 is a compact AVR-based architecture micro-controller, available for a few bucks on Amazon, which can be programmed to simulate an input device, such as a keyboard, making an interesting alternative to Hak5’s rubber ducky. Unfortunately, the board’s vendor discontinued support a few years ago and the official site hosting the configuration package is still offline, making the manual installation the only way to setup the board. Over the years some projects, such as Spence Konde’s ATTinyCore, tried to fill the void but installation of additional libraries is still required.
Installation
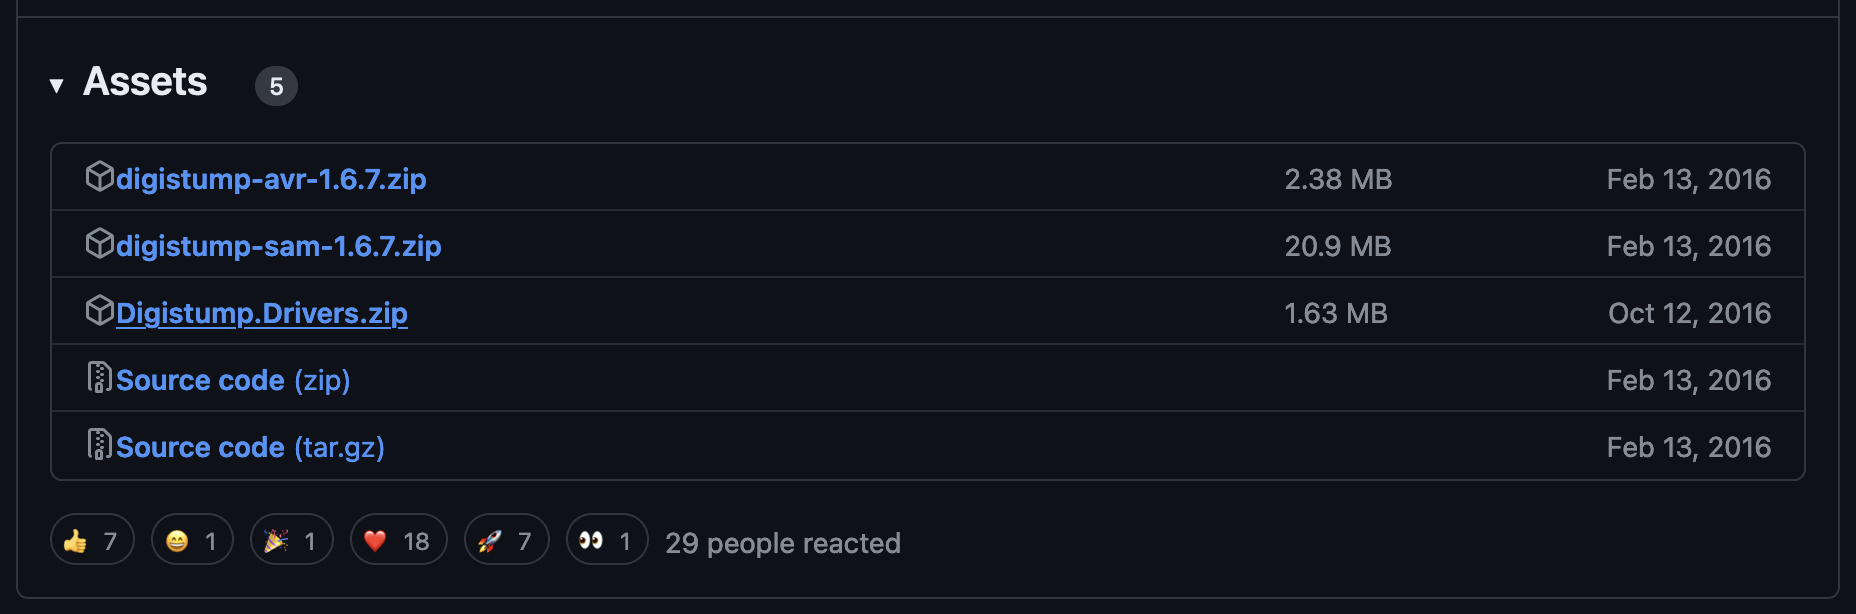
- go to DigiStump’s repository under the “Releases” tab and download the
digistump-avr-1.6.7.zipfile then navigate to thetoolsfolder and download the pre-compiled bundle that matches your operating system. Just an advice: clone the entire GitHub repository and saving it locally, you never know how long it will be available…

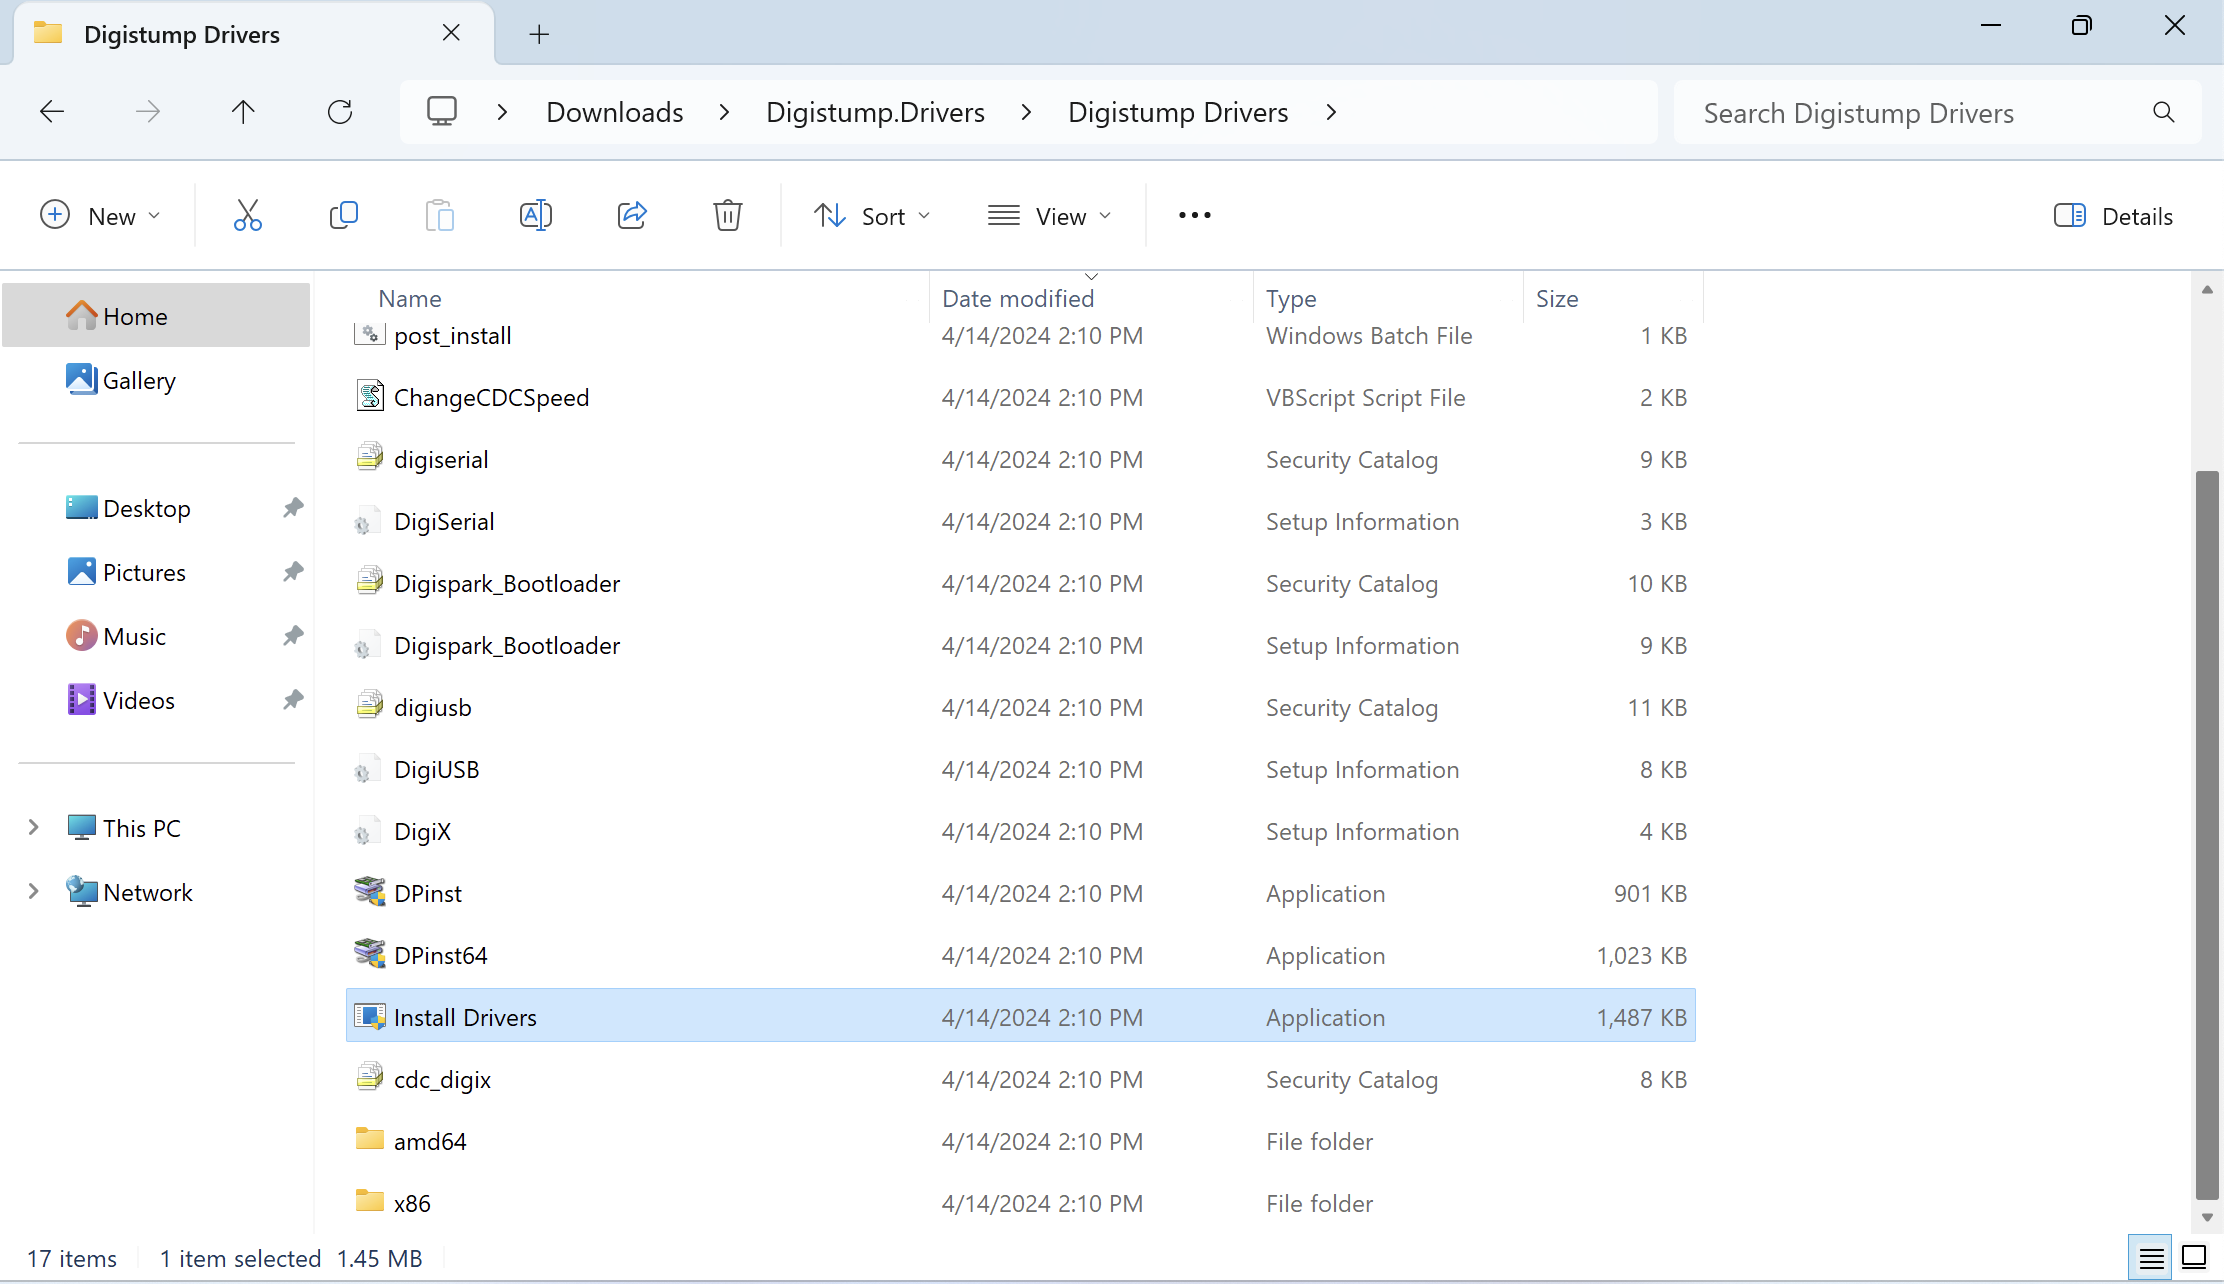
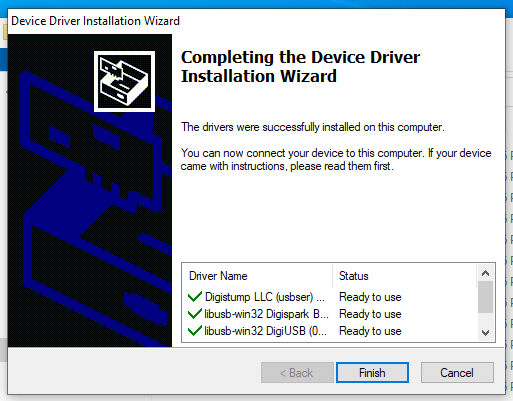
- if you’re on Windows, also download the
DigiStump.Drivers.zipfile, extract the archive’s content and executeInstall Drivers.exewith administrative privileges
go to Arduino’s website, download and install the Arduino integrated development environment. If you’re installing the software on a non-standard directory, annotate it, you’ll need it in the next steps. The default installation path is:
%UserProfile%\AppData\Local\Arduino15on Windows/Users/<USER>/Library/Arduino15on Mac
into the mentioned installation path, under the
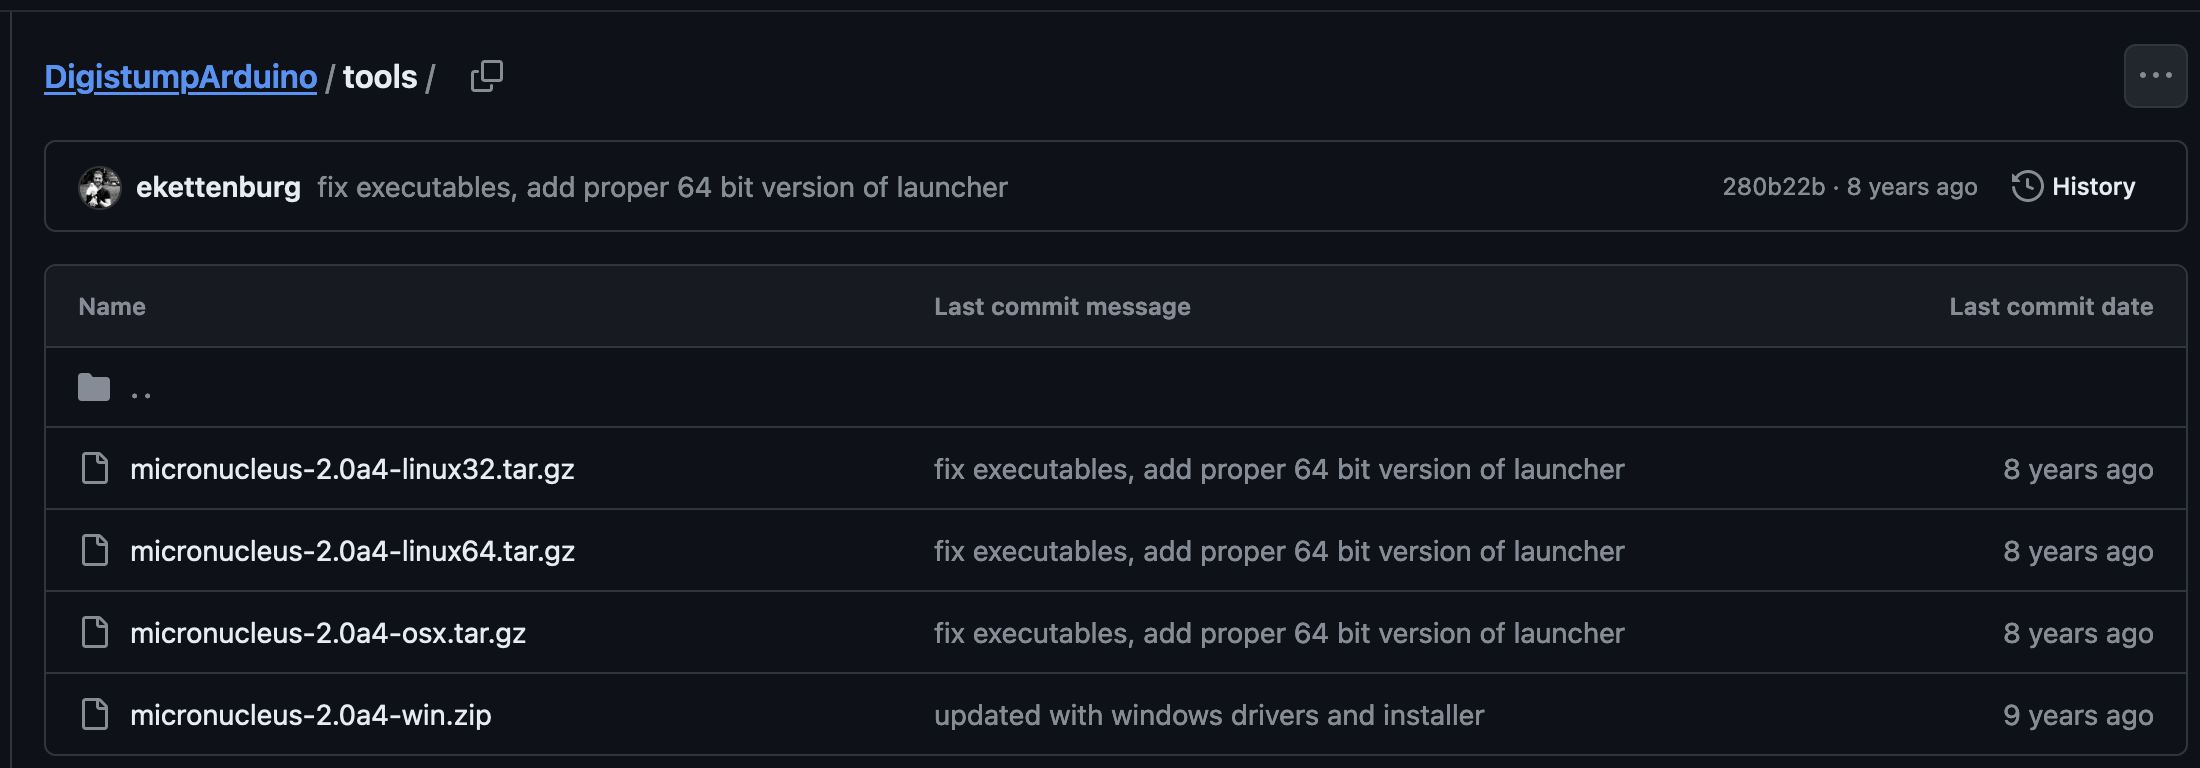
packagesdirectory, reproduce the following folders structure:digistump\hardware\avr\1.6.7digistump\tools\micronucleus\2.6
inside the first, extract and copy the content of
digistump-avr-1.6.7.zipinside the second, extract and copy the content of
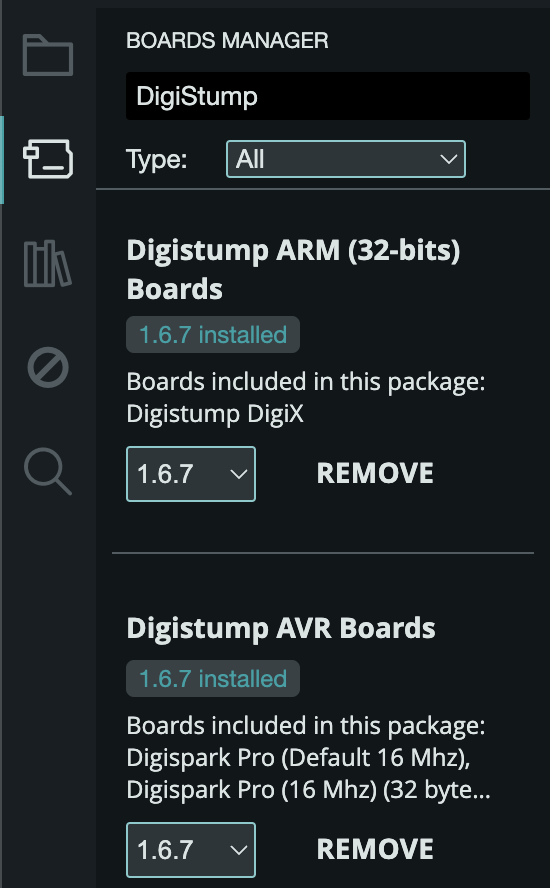
micronucleus-2.0a4-<ARCH>.zipto verify that the procedure was successful, open Arduino and, in the Boards Manager section, you should see DigiStump AVR Boards installed
First Sketch
- click on File > New Sketch and copy-paste the following code. For the sake of simplicity, in this guide I will use a very basic script that, without user interaction, opens a notepad and writes a short sentence. However, it’s possible to find more sophisticated scripts, suitable for red team purposes, in this repository
#include "DigiKeyboard.h"

void setup() {

}

void loop() {
  DigiKeyboard.sendKeyStroke(0);
  DigiKeyboard.delay(500);

  DigiKeyboard.sendKeyStroke(KEY_R, MOD_GUI_LEFT);
  DigiKeyboard.delay(500);

  DigiKeyboard.print("notepad");
  DigiKeyboard.sendKeyStroke(KEY_ENTER);
  DigiKeyboard.delay(500);

  DigiKeyboard.print("Hello World!");

  for (;;) {

  }
}
- go to Tools > Boards and select Digistump AVR Boards > Digispark (Default - 16.5 mhz) from the drop-down menu
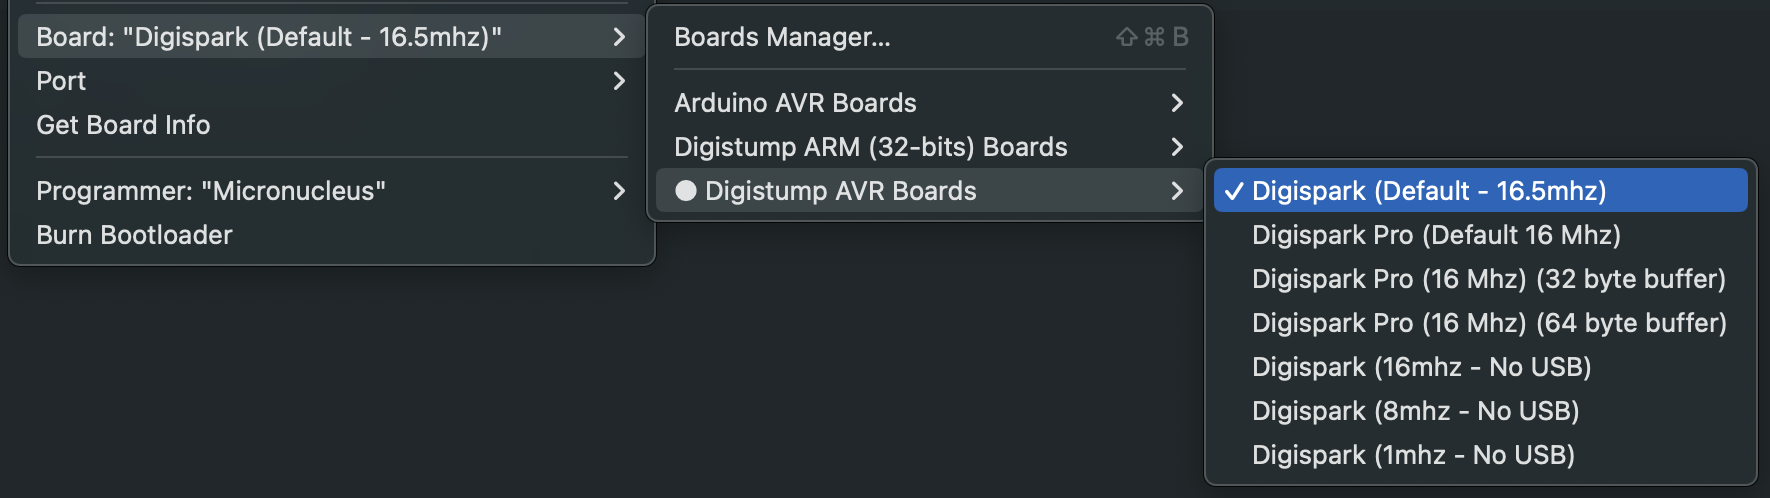
- go to Tools > Programmer and select Micronucleus from the drop-down menu

- go to Tools > Port and select the serial port that appears in the drop-down menu

- hit the Upload button at the top and wait for the task to complete until Arduino asks to insert the device then plug your device in, let the bootloader compile the code and, once it’s done, unplug your device. Yet another advice: on Mac, you can use the command
system_profiler SPUSBDataTypeto check that the system recognizes the device


- hover over the desktop and connect the DigiSpark ATTiny85. Done!
Documentation
Read the library’s source code to learn more about functions and constants.